

How to Screenshot on Windows PC
Taking a screenshot on a Windows PC is one of those tasks that everyone needs to do at some point. Whether you’re trying to save an important piece of information, share a funny meme, or troubleshoot an issue, screenshots can save the day. In this guide, we’ll show you how to screenshot on Windows PC using various methods. No matter your level of computer experience, we’ve got you covered. Let’s go!
1. Use the Print Screen (PrtScn) Key
This is the simplest and most direct way to take a screenshot on a Windows PC. The Print Screen key is usually labeled as PrtScn, PrtSc, or similar.
Steps:
a. Locate the PrtScn key on your keyboard. It’s often near the top-right corner.
b. Press the PrtScn key to capture your entire screen.
c. Open an image editing tool like Paint or Photoshop.
d. Paste the screenshot using Ctrl + V.
e. Save the image to your preferred location.
Pro tip: If you’re thinking, “Wetin I go do after pressing the key?” Just paste it into a document or app that supports images.
2. Use Windows + Print Screen

Want to take a screenshot and save it instantly? This combo is for you.
Steps:
a. Press Windows Key + PrtScn simultaneously.
b. Your screen will dim briefly, indicating the screenshot has been taken.
c. Go to the Screenshots folder in Pictures to find your image.
3. Snipping Tool
The Snipping Tool is a built-in application that offers more control over your screenshots.
Steps:
a. Type Snipping Tool into the Windows search bar and open the app.
b. Click New to begin.
c. Drag your cursor to select the area you want to capture.
d. Save the snip by clicking File > Save As.
“E simple die! Just snip and save.”
4. Snip & Sketch
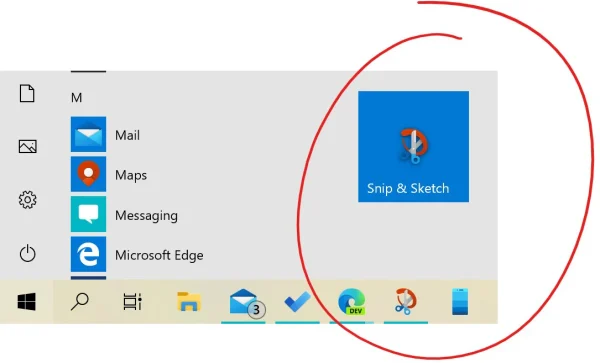
This modernized version of the Snipping Tool comes pre-installed on newer Windows versions.
Steps:
a. Press Windows Key + Shift + S.
b. Your screen will dim, and a small toolbar will appear.
c. Choose the type of screenshot you want (Rectangular, Freeform, Window, or Fullscreen).
d. The screenshot will be copied to your clipboard. You can paste it or click the notification to edit and save.
5. Game Bar (For Gamers)
If you’re into gaming, the Xbox Game Bar is your go-to tool for screenshots.
Steps:
a. Press Windows Key + G to open the Game Bar.
b. Click the Camera icon to take a screenshot.
c. Find your screenshot in the Captures folder under Videos.
6. Third-Party Tools
Sometimes, built-in options no dey do the work you want. Third-party tools like Lightshot and Greenshot offer additional features such as editing and cloud storage.
Recommended Tools:
i. Lightshot: Quick and easy to use.
ii. Greenshot: Perfect for detailed edits and annotations.
Frequently Asked Questions (FAQs)
Q1: Where are my screenshots saved?
A: If you use Windows + PrtScn, screenshots are saved in the Screenshots folder inside Pictures. For other methods, you may need to manually save the file.
Q2: Why is my PrtScn key not working?
A: Check if the Fn key needs to be pressed along with PrtScn. Some keyboards require this combination.
Q3: Can I take a screenshot of just one window?
A: Yes! Press Alt + PrtScn to capture the active window.
Q4: Is there a way to record my screen?
A: Absolutely! Use the Xbox Game Bar (Windows Key + G) or third-party apps like OBS Studio.
Q5: Can I screenshot on older versions of Windows?
A: Yes, but features like Snip & Sketch may not be available. Use the Snipping Tool or PrtScn key instead.
There you have it! Now you know how to screenshot on Windows PC like a pro. Don’t forget to share this guide with your friends and colleagues who might need help. As we say in pidgin, “Who no go, no go know!”
Leave a Reply