
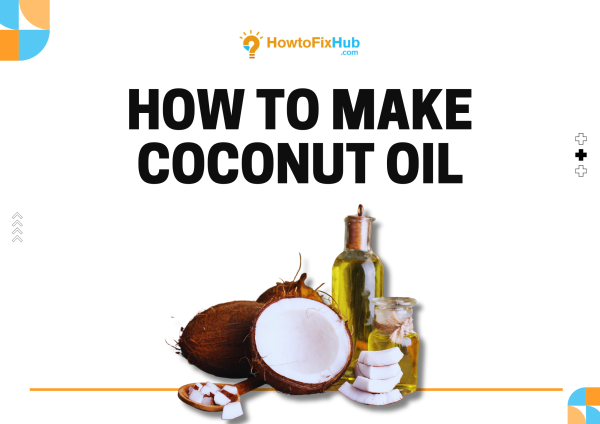
How to Make Coconut Oil
Coconut oil is a versatile and natural product, widely celebrated for its numerous health, beauty, and culinary benefits. Learning how to make coconut oil at home can save money and ensure you have a pure, unadulterated product. In this comprehensive guide, we’ll walk you through the process of making coconut oil from fresh coconuts, including the tools you’ll need and tips for the best results.
Why Make Coconut Oil at Home?
Homemade coconut oil is free from preservatives, additives, and chemicals, making it an excellent choice for those seeking a natural alternative. Whether you use it for cooking, skincare, or hair-care, creating your own coconut oil ensures you know exactly what goes into it.
What You’ll Need
To make coconut oil at home, you’ll need the following:
1. Fresh coconuts (3 to 4 coconuts for a decent yield)
2. Knife or machete to crack the coconuts
3. Grater or blender to process the coconut meat
4. Cheesecloth or fine strainer to extract the milk
5. Large bowl for collecting the coconut milk
6. Cooking pot (optional, for heating)
Step-by-Step Instructions
Step 1: Crack and Remove the Coconut Meat
Using a knife or machete, carefully crack the coconuts open. Scoop out the white meat using a knife or spoon. Rinse the meat thoroughly to remove any shell residue.
Step 2: Grate or Blend the Coconut Meat
Grate the coconut meat using a manual grater or cut it into small pieces and blend it with some water to create a smooth consistency. This step helps release the oil more effectively.
Step 3: Extract the Coconut Milk
Place the grated or blended coconut into a cheesecloth or fine strainer over a bowl. Squeeze or press to extract as much milk as possible. Repeat until all the coconut is processed.
Step 4: Let the Milk Separate
Leave the coconut milk in a cool place for 24-48 hours. Over time, the cream and oil will naturally separate from the water. The cream will rise to the top.
Step 5: Heat the Cream (Optional)
For quicker oil extraction, heat the coconut cream in a pot over low heat. Stir occasionally to prevent burning. As the water evaporates, the oil will separate and can be collected.
Step 6: Collect and Store Your Coconut Oil
Once the oil has separated, strain it through a clean cheesecloth to remove any solids. Transfer the oil into a clean, airtight jar for storage. Homemade coconut oil can last up to six months if stored in a cool, dry place.
Frequently Asked Questions (FAQs)
1. How many coconuts are needed to make coconut oil?
A: You’ll need approximately 3 to 4 coconuts to produce about 1 cup of coconut oil.
2. Can I use dried coconut instead of fresh?
A: Yes, dried coconut (copra) can also be used, but it may require additional processing to extract the oil.
3. How long does homemade coconut oil last?
A: When stored properly in a cool, dry place, it can last up to six months.
4. Is it necessary to heat the coconut cream?
A: Heating speeds up the process but isn’t necessary. You can let the cream separate naturally over time.
5. What can I do with leftover coconut solids?
A: Leftover coconut solids can be used in baking, smoothies, or as compost.
6. Is homemade coconut oil safe for cooking?
A: Absolutely! It is pure and safe for cooking, as long as it’s properly prepared and stored.
Conclusion
Making coconut oil at home is a rewarding and straightforward process. It allows you to create a natural, chemical-free product that can be used in countless ways, from enhancing your favorite recipes to nourishing your skin and hair. By following this guide, you can enjoy the satisfaction of crafting your own coconut oil while reaping its numerous benefits. So grab a few fresh coconuts and start your DIY journey today!
Leave a Reply