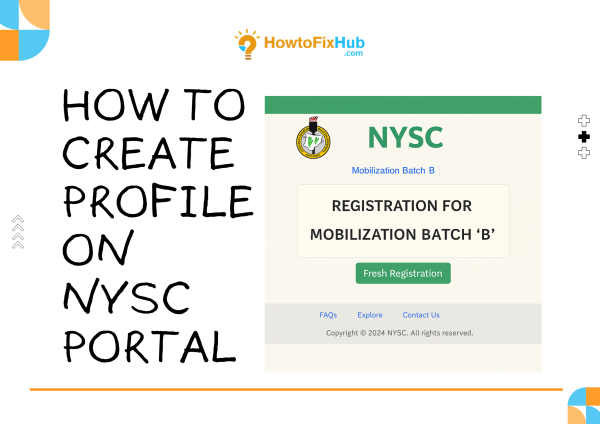
How to Create Profile on NYSC Portal
If you’re a fresh Nigerian graduate or an international student of Nigerian origin, knowing how to create profile on NYSC portal is a crucial first step toward participating in the National Youth Service Corps (NYSC) program. This portal serves as the official digital platform where prospective corps members (PCMs) register, update personal details, and monitor service progress. Whether you’re accessing it from Lagos, London, or anywhere in between, this guide will walk you through every step to ensure a smooth registration experience.
Why the NYSC Portal Matters
The NYSC portal is more than just a website. It’s your official gateway to national service. Without a properly created and verified profile, you won’t be able to get your call-up letter, select preferred deployment states, or complete biometrics. A small error at the registration stage can scatter your whole NYSC plan, so it’s important to get it right from the start.
Before You Begin: Key Requirements
Before jumping into the steps of creating a profile, ensure you have the following ready:
1. A valid and accessible email address
2. Scanned passport photograph (white background)
3. Original copies of your academic certificates
4. Matriculation number (for local graduates)
5. International passport (for foreign-trained graduates)
6. Functional Nigerian phone number
7. Scanned documents in required formats (usually PDF or JPEG)
Make sure all your details match your academic records. Even a small discrepancy can delay your verification process.
Step-by-Step: How to Create Profile on NYSC Portal
1. Visit the Official NYSC Portal: Head over to the website. This is the ONLY official NYSC registration website. Don’t fall for fake sites!
2. Click on “Mobilization Batch”: On the homepage, you’ll see options related to ongoing mobilization batches (e.g., Batch A, B, or C). Click on the link that says “Mobilization Batch Registration Portal”.
3. Create an Account: Enter your name, email address, phone number, and create a strong password. After submission, a confirmation email will be sent to you. Click the link in the email to activate your account.
4. Log in and Fill Personal Information: Log in with your email and password. You’ll be directed to a dashboard where you can begin entering your personal information: name, date of birth, gender, place of birth, and nationality.
5. Upload Documents: You’ll be prompted to upload required documents, including your passport photograph and academic credentials. Foreign-trained graduates will also upload their evaluation letters and travel documents.
6. Input Educational History: Enter your institution, matriculation number, course of study, graduation date, and class of degree. Cross-check this info like your village people are watching—accuracy is key!
7. Health Information: There’s a section where you disclose any medical conditions. Be honest here, especially if you’ll be requesting a deployment to a specific location due to health reasons.
8. Choose Preferred States for Deployment: NYSC usually allows you to select four states. However, the final decision is made by the NYSC board, so fingers crossed.
9. Biometric Capture: This is a critical step. You’ll need to complete fingerprint verification using a biometric device. If you’re registering at a cybercafe, make sure they have the necessary equipment.
10. Submit and Preview: After completing all sections, preview your details carefully. Confirm everything is correct before submitting.
11. Print Slip: Once submitted, you can print your registration slip and await your call-up letter when it’s time.
Best Practices for a Smooth NYSC Registration
1. Use a Stable Internet Connection: Avoid interruptions by registering where internet is reliable.
2. Register Early: NYSC portal can get busy close to deadlines. Early birds avoid unnecessary wahala.
3. Save Your Login Info: Write it down or store it securely; you’ll need it frequently.
4. Use Official Channels: Only trust info from the NYSC website or verified social media handles.
5. Double-check Every Entry: Once your data is submitted, editing can be tedious or sometimes impossible without formal complaint procedures.
Common Mistakes to Avoid
1. Wrong Email or Phone Number: These are your main contact channels.
2. Inconsistent Names: Ensure your name matches across all documents.
3. Uploading Blurry Photos/Documents: Clarity matters for approval.
4. Skipping the Biometric Capture: Without it, your registration is incomplete.
5. Using Someone Else’s Details: This could disqualify you entirely.
FAQs About Creating NYSC Profile
1. Can I change my email or phone number after registration?
A: No, you can’t change your email. You may be able to update your phone number later, but it’s best to get it right initially.
2. What if I made a mistake in my name or date of birth?
A: You’ll need to submit a correction request through the portal. NYSC typically provides a correction window during mobilization.
3. How do I know if my registration is successful?
A: If you see a message saying, “Successfully Submitted” and you can print your slip, you’re good to go.
4. Is it mandatory to register myself or can a cybercafe do it for me?
A: You can use a trusted cybercafe, but make sure you’re physically present, especially for biometric capture.
5. What if I didn’t complete my registration before the deadline?
A: You’ll have to wait for the next mobilization batch. Deadlines are usually strict.
Conclusion
Creating a profile on the NYSC portal is your ticket into the national youth service scheme. It’s not just a formality; it’s the backbone of your NYSC journey. Doing it right saves you time, stress, and potential disqualification. As the saying goes, shine your eyes well well during registration. With this guide, you now have everything you need to successfully create and manage your NYSC profile from anywhere in the world.

Leave a Reply